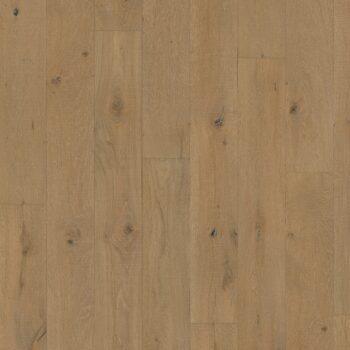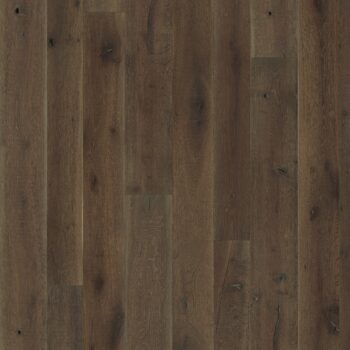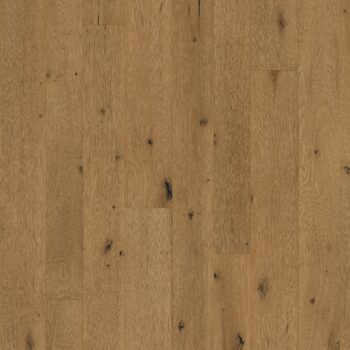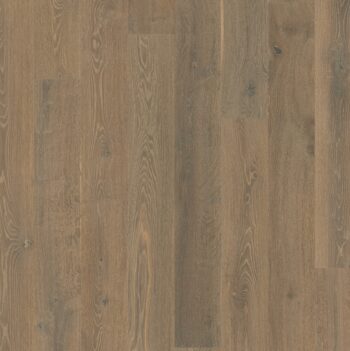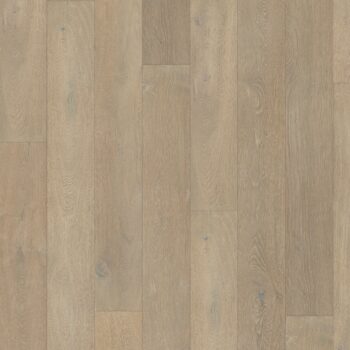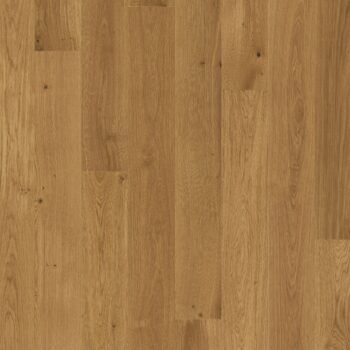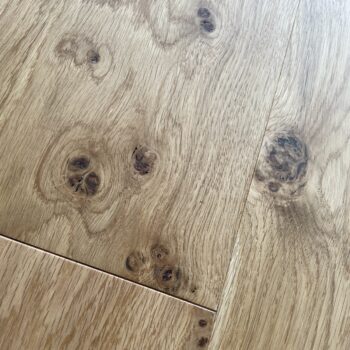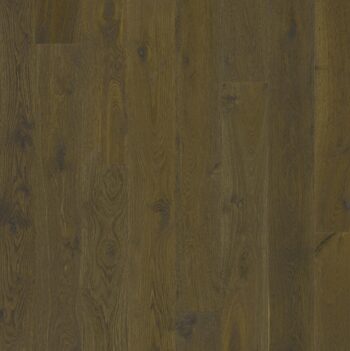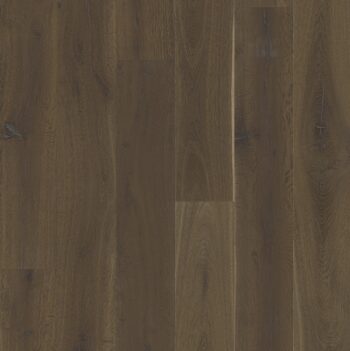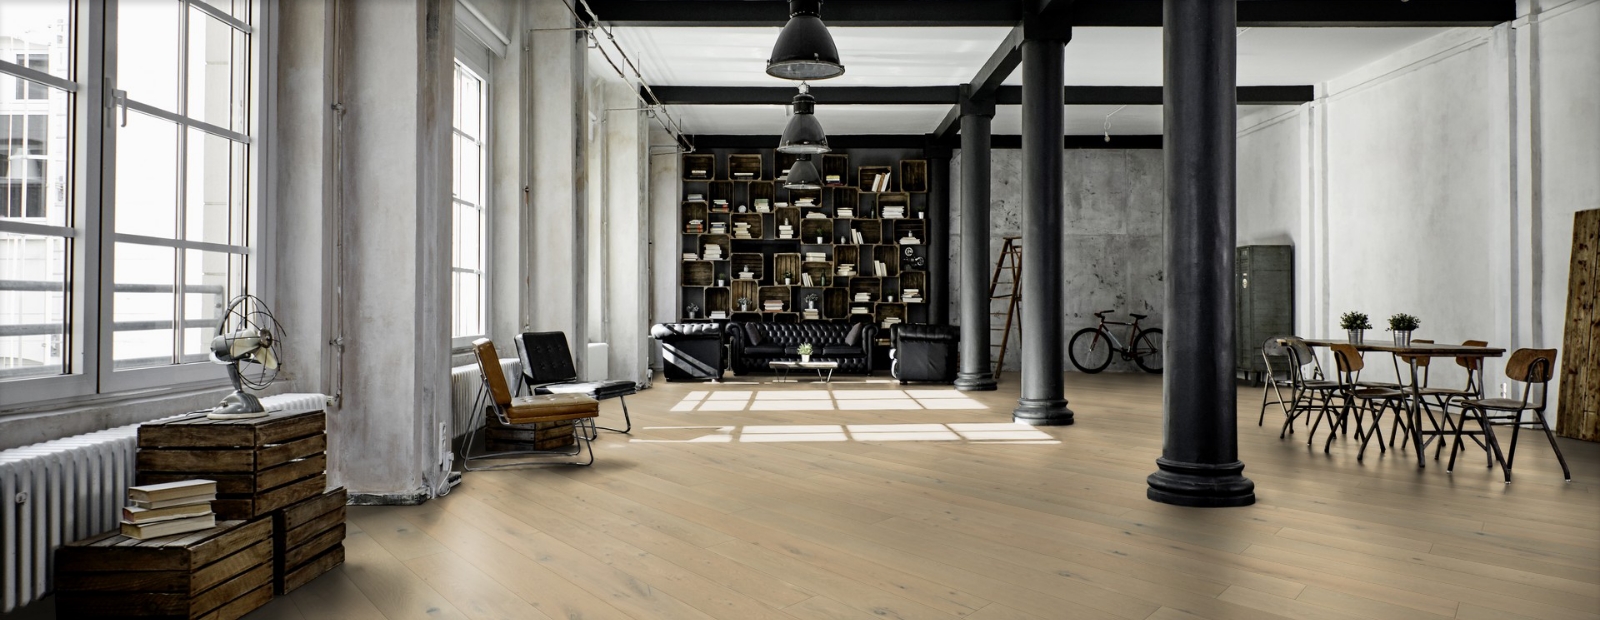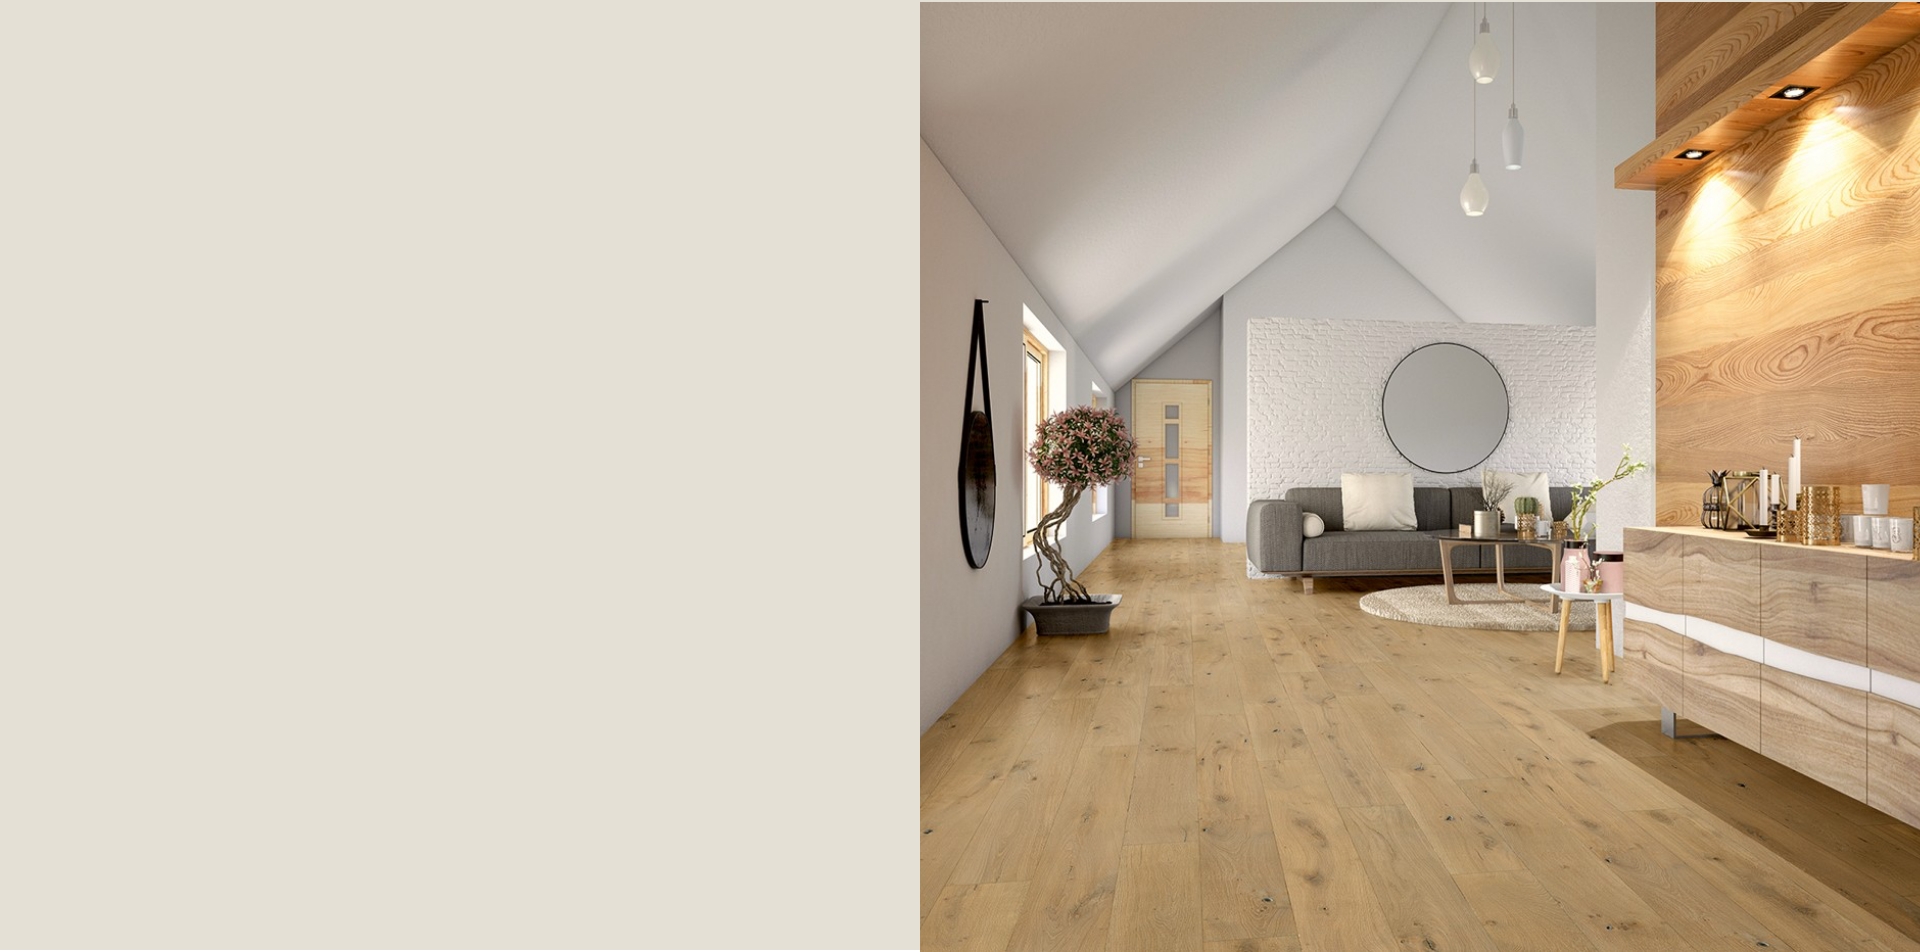
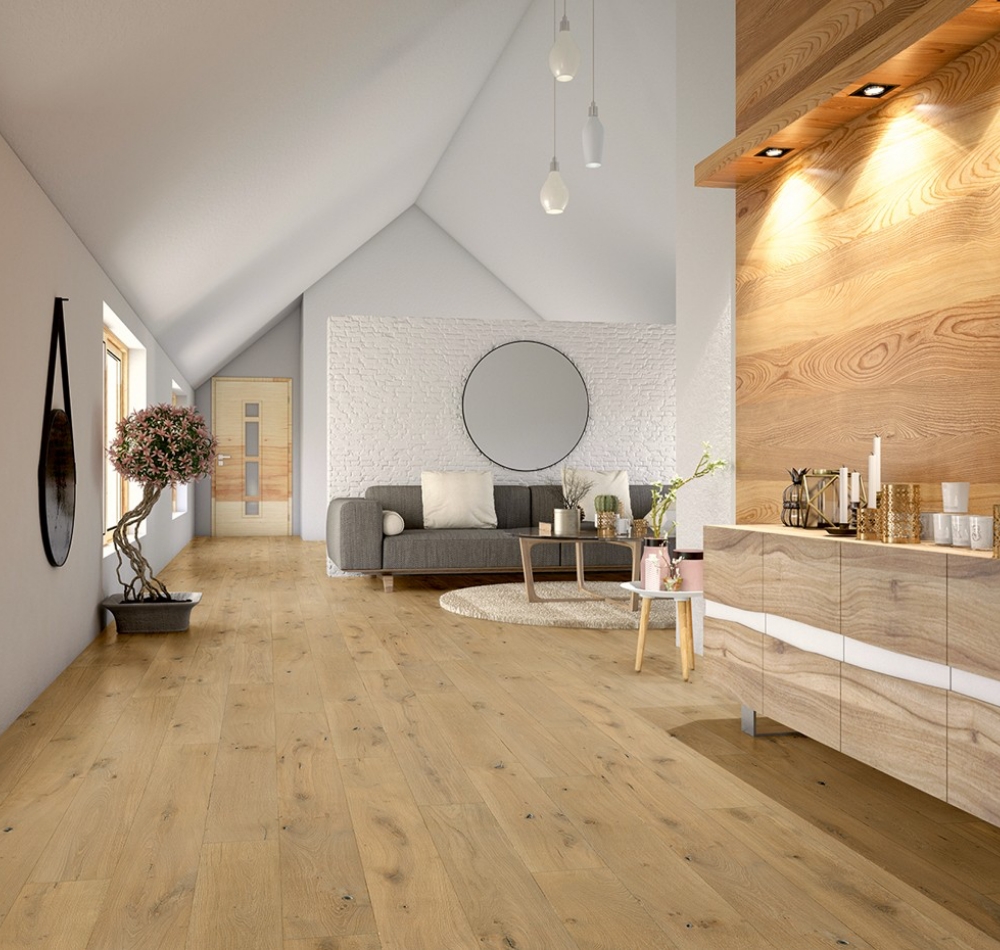
The finest
luxury oak
wood flooring.
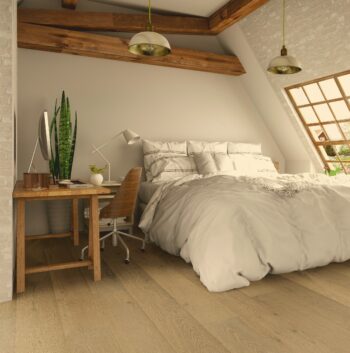
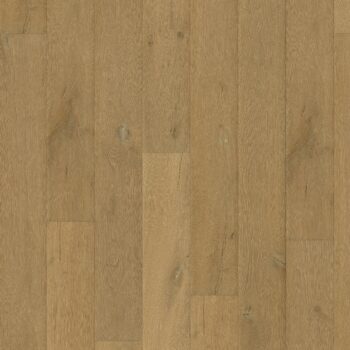
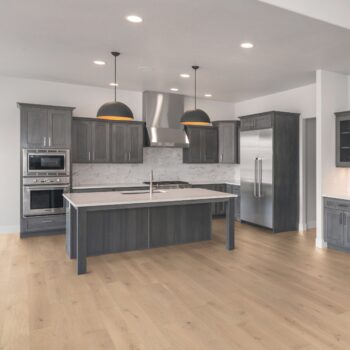
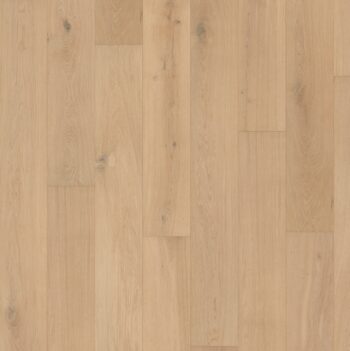
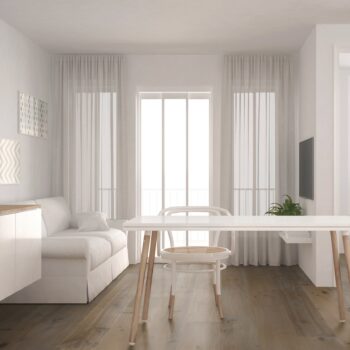
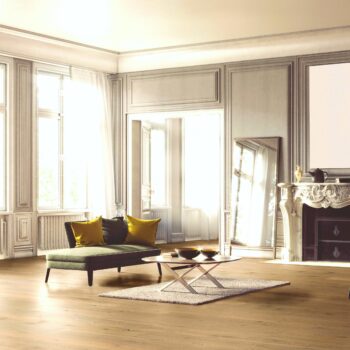
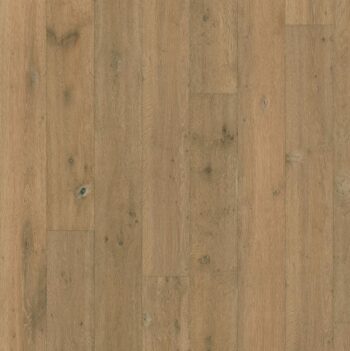
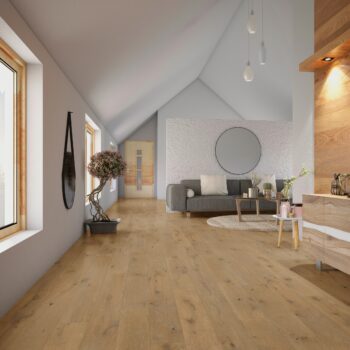
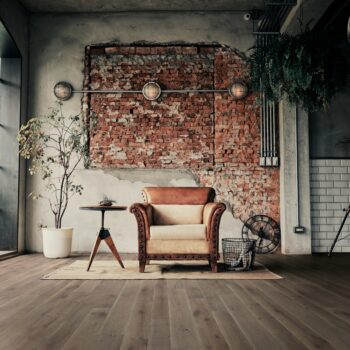
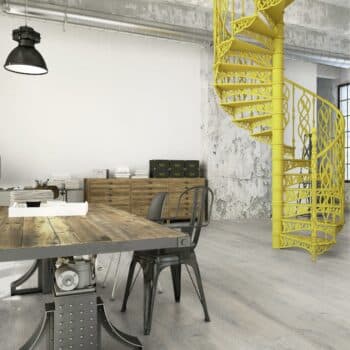
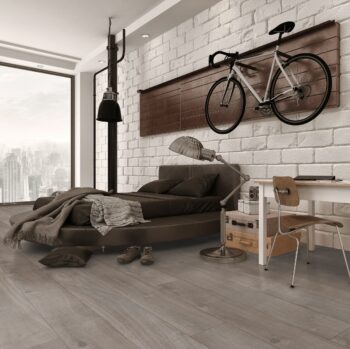
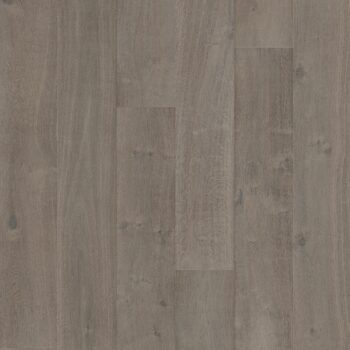
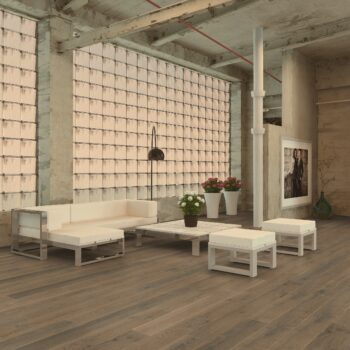
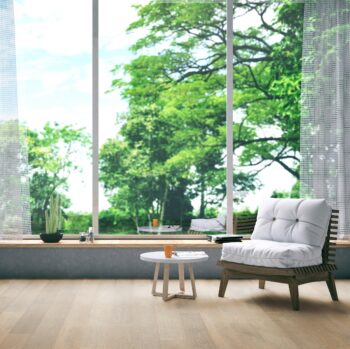
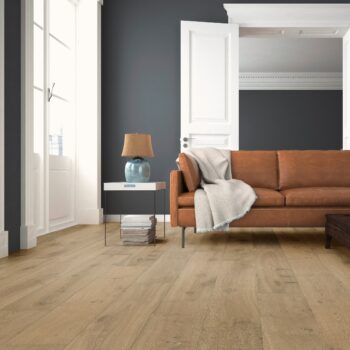
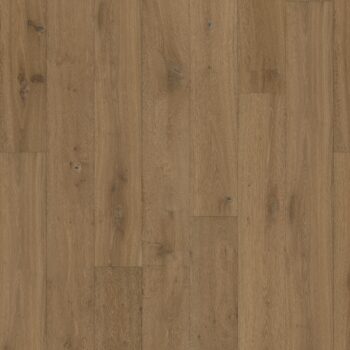
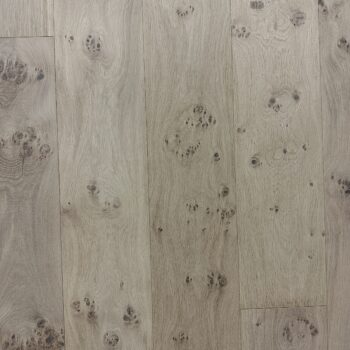
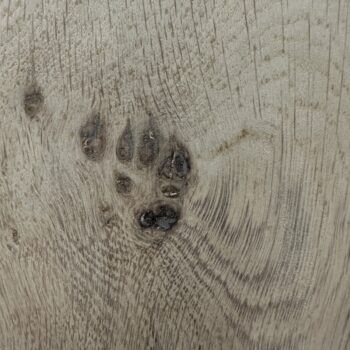
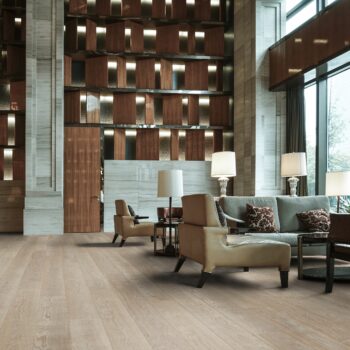
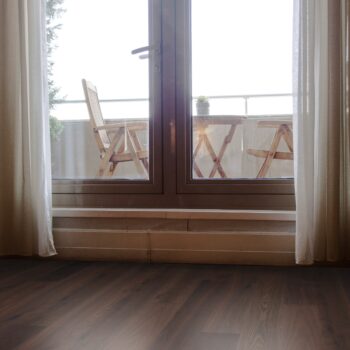
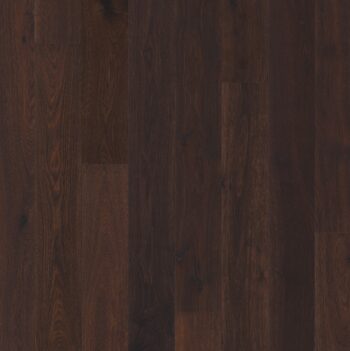
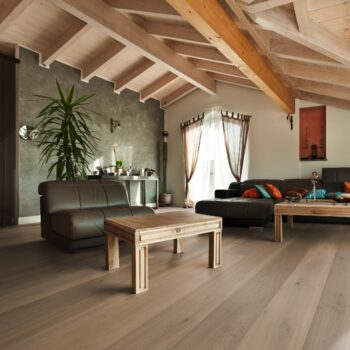
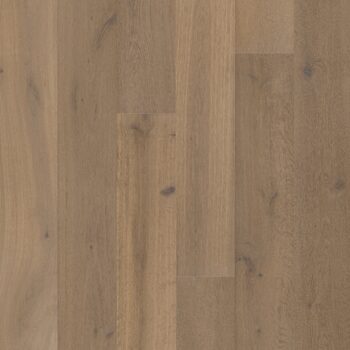
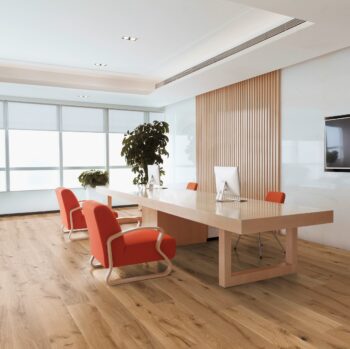
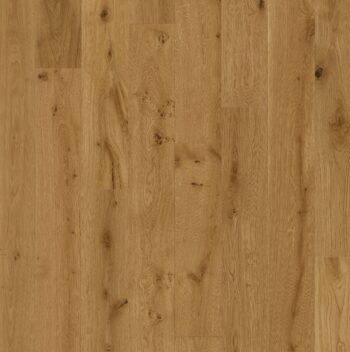
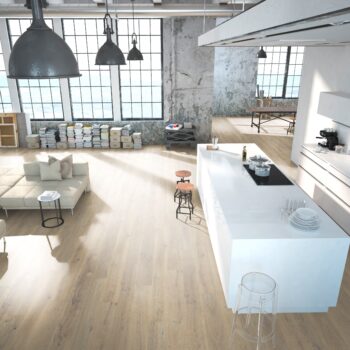
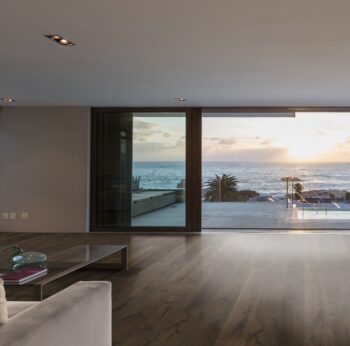
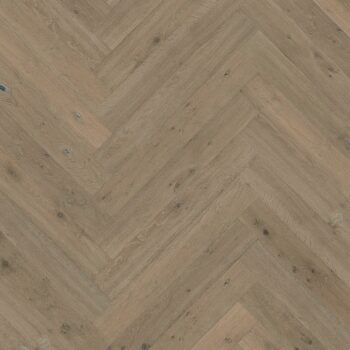
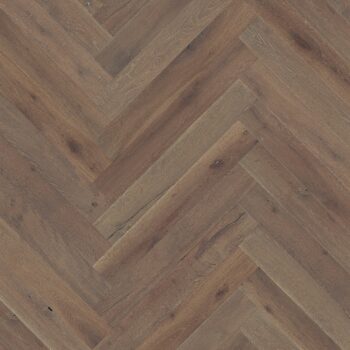
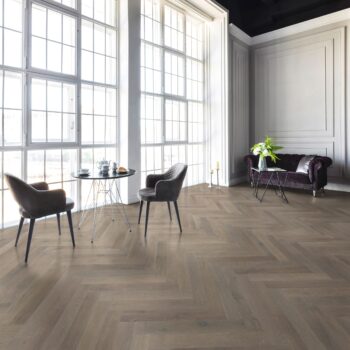
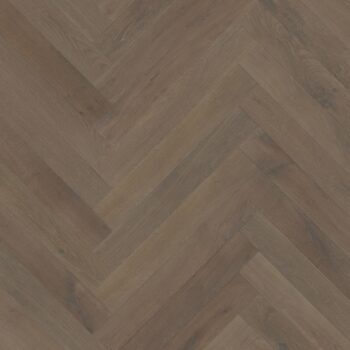
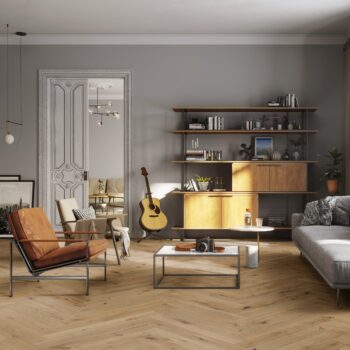
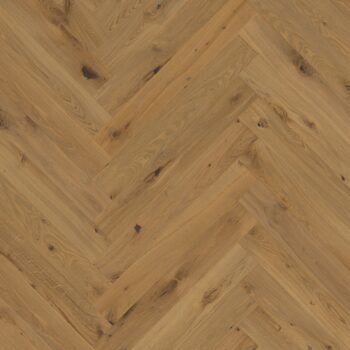
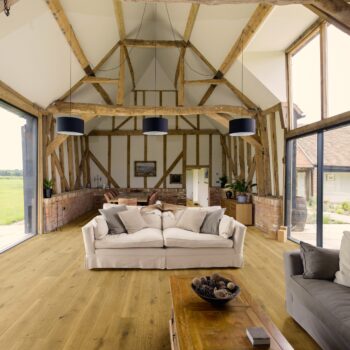
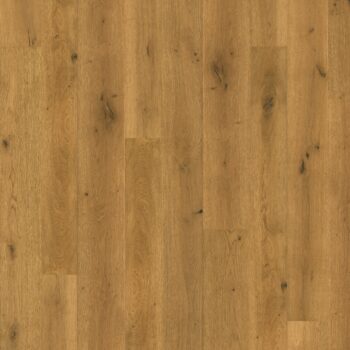
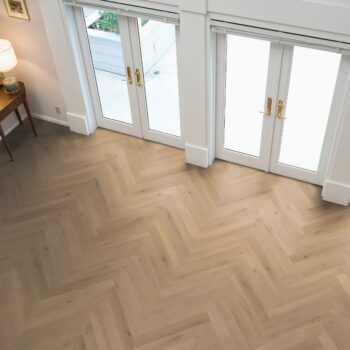
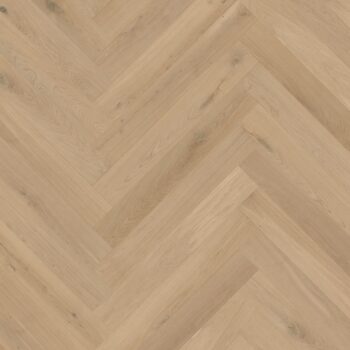
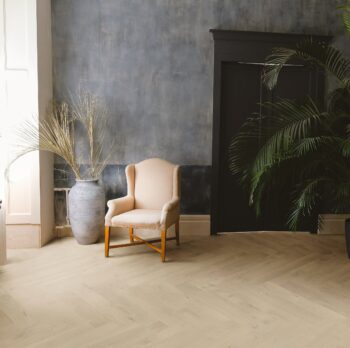
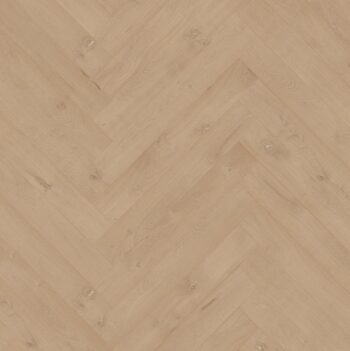
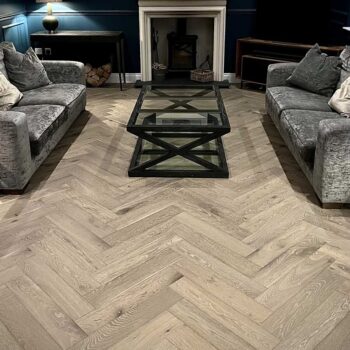
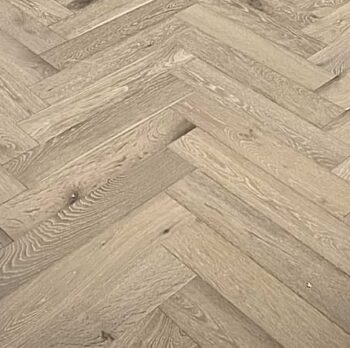
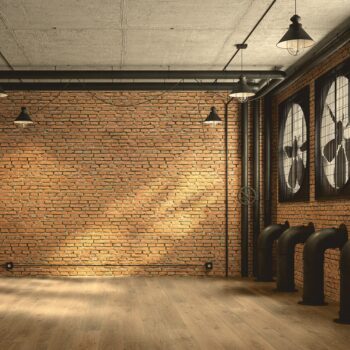
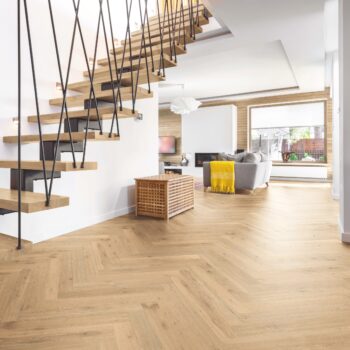
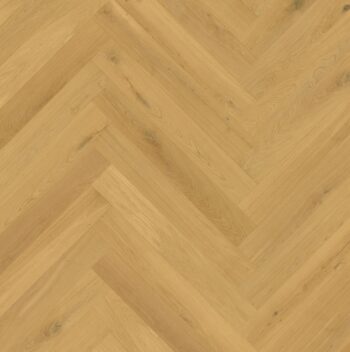
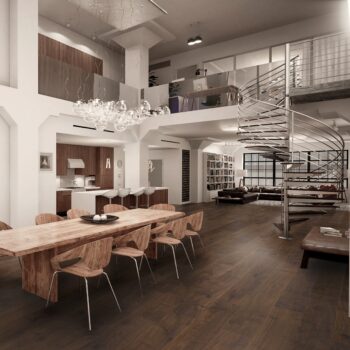
Crafted from sustainably harvested Western European Oak and featuring a Hevea hardwood core cultivated on responsible plantations, our luxury oak wood flooring effortlessly marries unparalleled stability, aesthetic allure, and a long-lasting quality that outshines the rest.
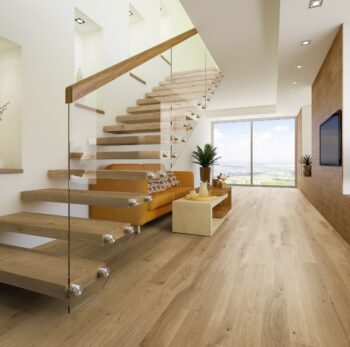
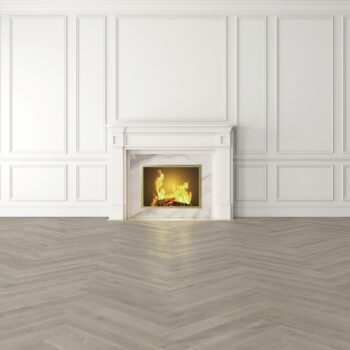
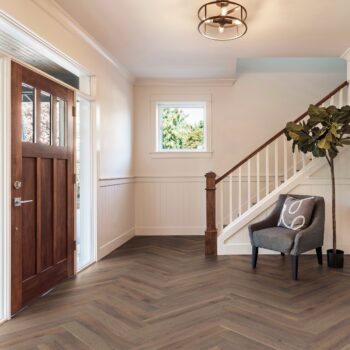
Visit our Ormskirk flooring showroom to experience the unmistakable quality of our real wood flooring and fully immerse yourself in unmistakable superiority.